Showing posts with label Domestication. Show all posts

Monday, February 6, 2012

Suds-n-Duds {Homemade Laundry Soap and Other Adventures in Cleaning}

It's hard being a domestic goddess.  I should know because I have been one lately.  It's my other job, right after wife, mom, and 4th grade teacher.  Really, I do not know what has come over me.  The new me is dreaming up cleaning schedules to clean one or two parts of the house each day, and planning meals, and making her own cleaning products.  The new me has even missed watching some episodes of Real Housewives of Beverly Hills and Tori and Dean: Home Sweet Hollywood.  Don't tell the old me, she'll be mad!

Update: I'm now all caught up on my fave shows.  Just in case you were wondering, or concerned.  Thank you OnDemand!

With all this cleanliness (as you know, it's next to Godliness) going on, I thought I'd share my secrets that I found on Pinterest, of course (not so secret).  You can be a domestic goddess, just like me!

Here's the Homemade Laundry Soap...

You need the following ingredients, all available at Wal-Mart in the laundry aisle.  The cost is about $11.  I already had the large box of baking soda on hand at home, so the washing soda, Borax, and Fels-Naptha only cost me 7 bills, dawg. 


Grate the bar of Fels-Naptha with a cheese grater.  You can also throw it in the food processor to break it up a bit, but not necessary.  Add 1 cup of Borax, 1 cup of washing soda, and 1/4 cup of baking soda.  Stir it up, as Bob Marley says.  Use 2 tbsp. per load.

Don't worry, you'll make more than this.
We've done a few loads since I made this batch.

Looks a bit like shredded cheddar cheese in white powder.  If you don't like such big chunks of soap, put the grated soap into a food processor to break it up a bit.  It still gets the clothes clean either way.
This recipe doesn't make a ton, but at just 2 tbsp. a load, it'll go far.  Next time, I'll double or triple the recipe.  The great thing is, I will only have to buy the Fels-Naptha (only $.97 a bar).  The sodas and Borax will last me a long while, making this very inexpensive.

It gets the clothes clean (which is the point), they smell fresh, and not too shabby on stains.

And, speaking of stains, I'm still trying to get through my last bottle of OxyClean stain remover spray.  But, when that bottle is empty, my next project is homemade stain remover. Stay tuned.


I also recently went homemade with my all-purpose spray cleaner.  I LOVE this stuff.  I use it mostly in the kitchen, but it's great on glass, furniture, and in the bathroom. 

Homemade All-Purpose Spray Cleaner....


One part vinegar, one part warm water, and a few drops of tea tree oil (or any scent of essential oil, although the tea tree oil has some disinfectant qualities that I like).  Put it all in a spray bottle and you're ready to rock and roll.  This is livin'!

The vinegar is really cheap at less than $2 for a gallon size jug (found in the cleaning aisles at Wal-Mart).  The tea tree oil is pricey ($10 for a small bottle), but you only use a few drops, so it lasts a while.  Plus I use it for soap making.


And for those tough to clean areas that need a little extra, this little magic potion will change. your. life. 

Homemade Non-Abrasive Scrub


Some baking soda (now you know why I keep such a large box on hand) and some hydrogen peroxide.  Mix whatever amounts you need in a small bowl to make a paste.  Use your hand or a sponge and rub this stuff on whatever and it's like buttah.  I used the concoction on my glass-top stove.  So clean.  Not a scratch.  Hallelujah!  It's amazing on bathroom sinks, too, to get off any soap scum.  My blender got some new life breathed into with a quick cleaning with this stuff.  Looks like new, I tell ya. 


Well, there you have it.  I may sound like a real granola, but I'm lovin' the homemade cleaners!  I call it being light green. 


post signature
Posted by Picasa

Monday, January 30, 2012

Pinterest Made Me Do It {Cooking Edition}

Pinterest has changed my life.

If you live on this side of a rock, you can relate to the above statement.  The change for me has been threefold:
1.  I waste a lot more time than I did before I found Pinterest.  Or it found me.
2.  I have a rich fantasy life that consists of an amazing wardrobe, an impeccably decorated and perfectly organized home, a sharply dressed and photograph ready child, and a variety of incredible craft ideas that would keep me busy for the remainder of my natural born life.  And all of this is organized within several cleverly named boards that house thousands of pins.  And more await....
3.  I have cooked more in the past month than ever before.  If you listen closely, you can hear my husband singing praises.

In all seriousness, Pinterest has been my inspiration, muse if you will, for a plethora of things.  From painting without sanding tutorials to how to make homemade liquid hand soap.  It's the instruction manual for my life.  If it's been done before, it's been pinned.

I have pinned,  I have made. 

The biggest inspiration has come in the kitchen.  Here I would like to share my favorite recipes I've tried so far.  You'll thank me.


Ah, Pinterest.  My waistline will not be shrinking with your dominating web presence taunting me with new delicious pins each day.  Oh, but you taste so good!

NOT the end.  

post signature

Monday, January 23, 2012

NOT the Mac-n-Cheese in the Blue Box

Not there's anything wrong with the Kraft brand macaroni and cheese.  I like myself some Kraft every now and then.  I especially love to eat the bites in which the cheese powder has not been all the way stirred in, so you get an extra cheese-y (is that cheese?) bite. 

But THIS stuff, it's good.  And it's one pot (well, plus a colander, a spoon, and a pan if you want to add bacon). 

I've actually tried two different recipes for this dish and read a bunch more.  I've kind of compiled elemetns of all of them and created this pasta, cheese-y masterpiece....

Momma's One-Pot, Not-the-Blue-Box Mac-n-Cheese

2 cups uncooked elbow macaroni
2 1/2 cups milk
1 cup grated cheese (can be a combination of whatever you like, however, if you use a hard cheese, like parmesan, use it with a soft easier-to-melt cheese, too.)
1/2 tsp. ground mustard
1 tsp. salt
1/2 tsp nutmeg
2 tbsp butter
bacon crumbles (optional)
toasted bread crumbs (optional)

Rinse uncooked macaroni in a collander and drain.

In a medium saucepan, combine macaroni, milk, butter, salt, mustard, and nutmeg.  Cook on MEDIUM until simmering.  Stir often.

Once the mixtures simmers, turn heat to LOW and cook for 15-20 more minutes or until milk is nearly completely, stirring frequently.

Once milk is absorbed and pasta is soft, add cheese (I used 1/3 cup parmesan and 2/3 cup colby-jack) and stir.  Turn off heat, cover pot, and let sit for 5 minutes.  

After 5 minutes I added crumbled bacon and stirred it in.  Then I topped with toasted bread crumbs.

I cooked the bacon while I made the mac-n-cheese, then crumbled it when it cooled.  With a little of the bacon grease still in the pan, I added some bread crumbs (I had garlic & herb - it tasted yummy!) and stirred them over a MEDIUM-LOW heat until browned. 
post signature

Monday, January 16, 2012

Operation: Kitchen Revamp {Part 3}

If you missed the first two parts of this series in which I did some really awesome things in my little kitchen, click on the photos below.


So, to top off my newly redone table, and to coordinate with with my made-over bookcase, I needed some placemats.  Not just any placemats, monogrammed bunting placemats. And to go with my placemats, I needed some cloth napkins.  Not just any cloth napkins, monogrammed flour sack napkins.  Here's how I made both....

Supplies:
For the placemats (makes 4)
Cotton fabric, about a 1 yard (back fabric)
Cotton fabric, about half yard of each color (front fabric)
If you want all your placemats to be fronted in the same fabric,
then you would need 1 yard of the front fabric.
Fusible fleece, about 1 yard
Scrap fabric pieces (for the bunting design and monogram)
Heat-n-Bond, sewable 
Thread, white and black

For the napkins (makes 8)
4 flour sacks (available in the kitchen department @ Target or Wal-Mart
Fabric scraps (for the monogram)
Heat-n-Bond, sewable
White thread
Red thread (or any contrasting color thread)


First, I chose my fabrics.  I wanted one fabric (grey polka dot) for the back side, and 2 different colors for the front (2 yellow and 2 aqua).  We only have 3 in our family, but I made four placemats so we have one for a guest.  I made two yellow and two aqua, and all four are backed in grey polka dot.

I cut all 8 pieces (4 front, 4 back) into 19" x 13" rectangles.  Using a half inch seam allowance on all sides, this will yield a finished placemat that measures approximately 18" x 12".  If you want to adjust the size of your mats, go ahead.  You can make them larger or smaller.

I don't have any photos showing this, but you will also need fusible fleece for padding the mats.  The four pieces of fusible fleece should be cut one half inch shorter than your fabric on each side.  So, if you use my measurements, your fleece would be 18" x 12".

Using the scrap fabric, cut out the triangles for the bunting and each monogram.  I used 7 triangles for each mat.  I used the Heat-n-Bond to adhere the triangles to the mat and then stitched around each with white thread.
I also adhered the monogram on each mat and stitched around the letter with white thread.
Then I used black thread to stitch across the mat, going over the top of each triangle.  This was the string for the bunting banner.


I had three of each letter: one letter for each mat, and one letter for each napkin.

Sorry, but I don't have any photos showing the rest of the process. Sad face.

Iron the fusible fleece (according to product instructions) to the wrong side of the back fabric.

Place front and back fabrics, right sides together and pin.  Stitch around with a half inch seam allowance.  Be sure to leave a 3-4 inch opening for turning.  Turn mat right side out.  Press.  Stitch around entire mat, making sure to stitch the opening closed.

I also stitched three wavy lines (somewhat mimicking the banner's wave) to "quilt" the three layers together.


And now for the napkins....

I used some white flour sack towels from Target.  They come in a pack of four for around $4.  Each towel will yield 2 napkins.

I trimmed all the finished edges of the towel and cut it into fourths.  You will have 16 squares that measure about 14" x 14".


I like the idea of unfinished edges, so that how I did mine, but if you want finished edges, you'll have to sew right sides together, and then turn it before top-stitching.


My kitchen has red in it, so I used red thread to top stitch around the napkin.  You can use whatever fun contrasting color matches your kitchen, or use white!  Put two squares together, there's not really a wrong or right side, and stitch around.

I did two laps around the square, so it looked like this.....


Using the Heat-n-Bond, iron the monogram on the napkin.  Stitch around the letter with white thread.  


Here's the finished napkin.

And the two beautiful pieces together....


And when we're not using them, the mats and napkins go into this cute little wire basket (found on sale at Wal-Mart) until the next meal.  The can holds a few pieces of chalk and a rag for erasing our drawings on the chalkboard table.  The mat under the basket (with the heart) is for a guest.


And there you have it.  Three little projects that revamped my kitchen.  I love them, and I hope you do, too.
post signature
Posted by Picasa

Friday, January 13, 2012

Operation: Kitchen Revamp {Part 2}

If you missed Part 1, in which I transformed an ordinary bookcase into colorful kitchen awesomeness, read about it here.


So, although I featured the bookshelf makeover first, it wasn't actually the intial victim in the kitchen revamp.

Meet our kitchen table....

More specifically, meet the lovely discolorations on our kitchen table....


I didn't really want a tablecloth, so there had to be another option.  And, like a cartoon lightbulb above my head, the idea came to me...CHALKBOARD PAINT!  Who wouldn't love that.  It's fun and interactive.  Like a dinner show at every meal.

So, I went to work.  Here are my supplies.  The chalkboard paint is readily available at your local home improvement store, but they do keep it under lock and key with the spray paint.  You also need a high-density foam roller.

Since I was only painting the top of the table, the prep and painting were super easy.  I cleared it off, rolled on a couple of coats (drying a few hours in between, according to instructions), and we were ready to draw.

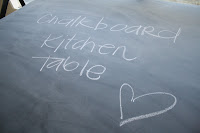
Well, not just yet.  Again according to instructions on the can of paint, you must allow the paint to cure for 3 days, then "condition" the writing surface by coloring over it entirely, then erasing it. (This is to ensure better erasing after writing and drawing).


I did this process, but was kinda of disappointed with the look of it.  It had not erased very well, and was, well, kind of chalky looking.  After our first meal, with greasy fingerprints and all, I wiped it clean with a mild kitchen cleaner and wrote on it without the "conditioning". (Which the instructions said needed to be done after every time the surface was cleaned.  Not really reasonable for a kitchen table that would be cleaned at least once a day.)  Anywho, I found that the chalk erased just fine without the conditioning step and I liked the way it look, too.  Less, chalky, and more flat black.

Here's the finished product (after my intial conditioning process)....

And, here is my little man breaking it in....


I adore this table!  It's going to be super fun and easy to decorate for each holiday by drawing a fun picture or writing a cute message.  Or, my little man can entertain himself with some chalk and his imagination while momma cooks up supper. The other day the hubs even used the table to write me a grocery shopping reminder.


Okay, so there's still one more installment of the kitchen revamp to come.  Stay tuned....

post signature
Posted by Picasa

Monday, January 9, 2012

Operation: Kitchen Revamp {Part 1}

So, before the easy-livin' of my Christmas break came to a screeching hault, I got a wild hair to buy some new furniture for the family room.  New furniture meant I needed to rearrange the existing furniture, which, in turn, recreated a furniture arrangment dilemma involving a bookcase that was too big.  Long story short...new family room furniture = kitchen getting a face-lift. It's a slippery slope, I know.

The guilty party is pictured here:

I began de-tchotchke-ing the shelves pre-photo op.
I decided "Big Oak" (as I like to call this bookshelf) needed a new home.  While we currently had a small, black book shelf in our kitchen that housed some cookbooks, dishes, and kitchen what-not, "Little Blackie" was not cutting the mustard. Kitchen pun intended.  "Big Oak" was about to get a new name and a new home.  "Little Blackie was on the way out.

Here's "Little Blackie" looking all small and pitiful.


My kitchen is white with some splashes of red.  My first inclination was to paint the bookshelf black.  It is, after all, the color of the current piece in the kitchen, not to mention, the color of our kitchen table and chairs.  My next thought was red.  It was a natural possible choice because I had decorated my kitchen with red.  However, I was not feeling either of those hues.  I needed more.  The final choice was a toss up between yellow or aqua.  Both perfect color compliments to red.  Both colors I loved.  With encouragement from my BFF, it was decided.  AQUA!  Without hesitation, I got myself down to the closest home improvement store and picked out a delightful little shade of the blue-green hue from Martha Stewart. (Apparently Home Depot won't be carrying Martha Stewart Living paint any longer, so it was on sale, BIG TIME).

Prepped for paint.

Here's the color.  Ain't she pretty?! It's called Lagoon.
 
Coat #1

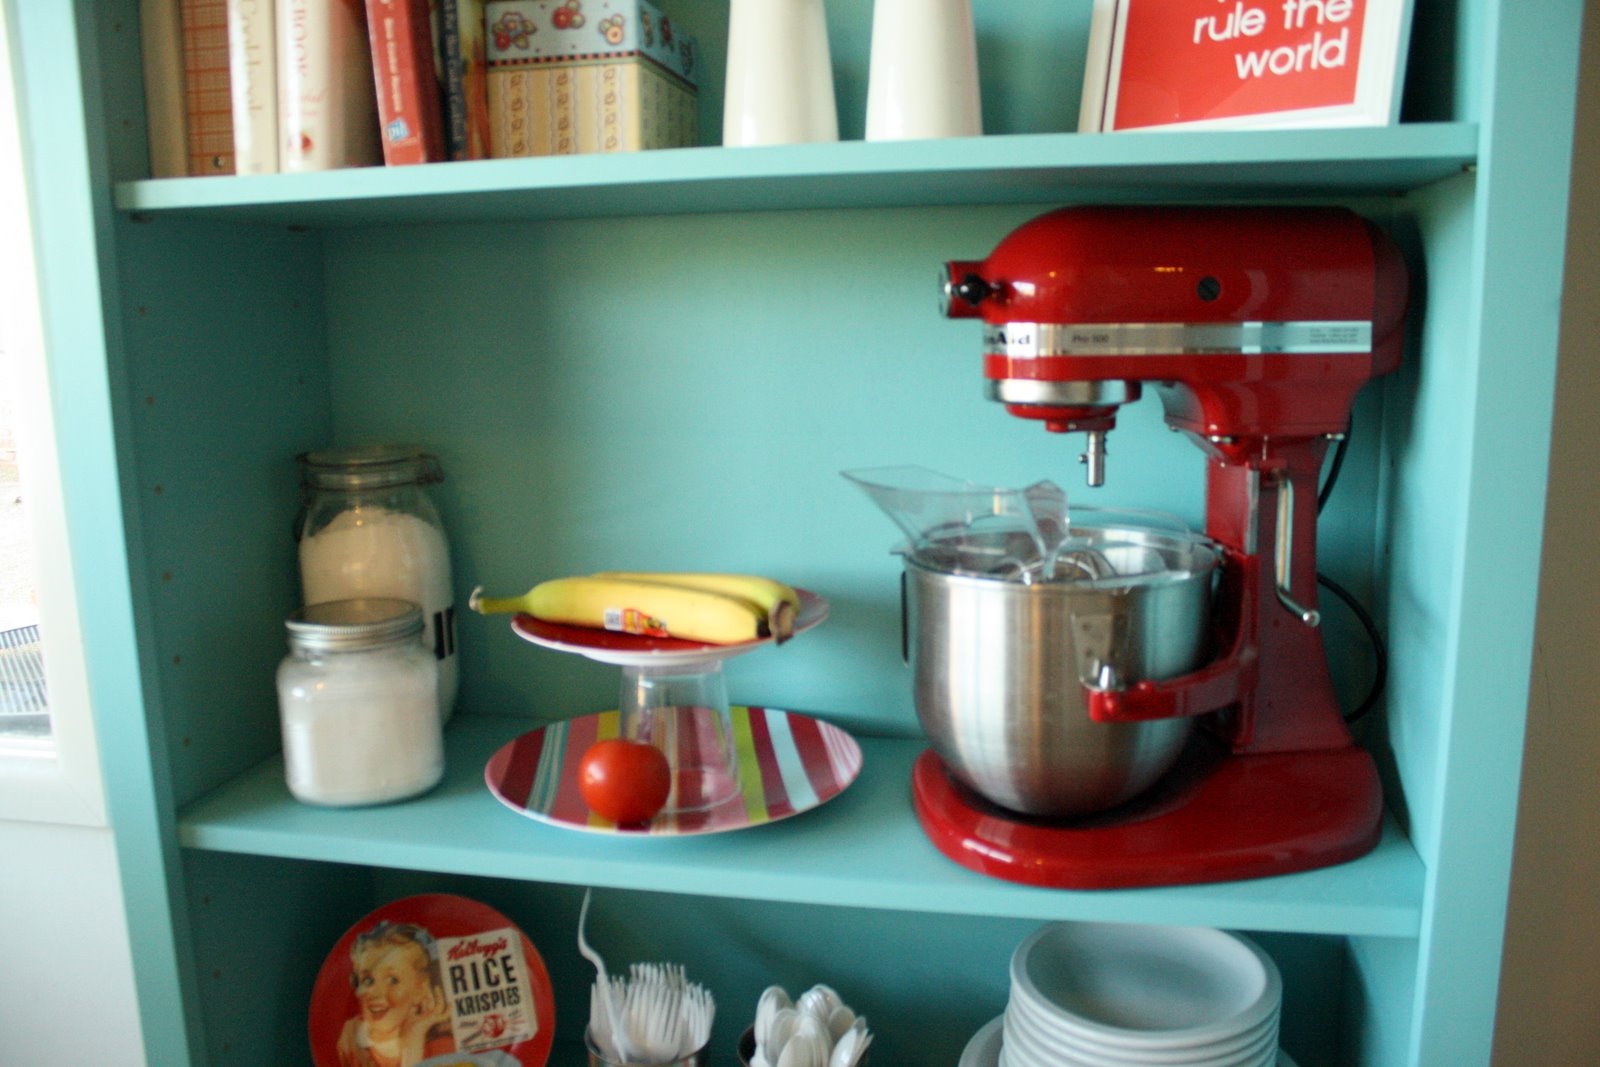
And here is the finished product.  "Big Oak" is now "Big Aqua".  I love her and all her aqua-ness.  


So, to recap:

BEFORE

AFTER


So much better.

Stay tuned this week for Operation: Kitchen Revamp Parts 2 and 3....


Posted by Picasa